QuickBooks Online
The user that will complete this process and give consent must have Admin permissions on QBO app.
- Navigate to: Administration Area → Admin Hub → Integrations → QuickBooks Online (Accounting Systems) → Create

-
Add a name and specify the Environment Type:
-
Save the QuickBooks connector.
-
Open it again (use the edit button in the drop-down menu under the gear icon).
-
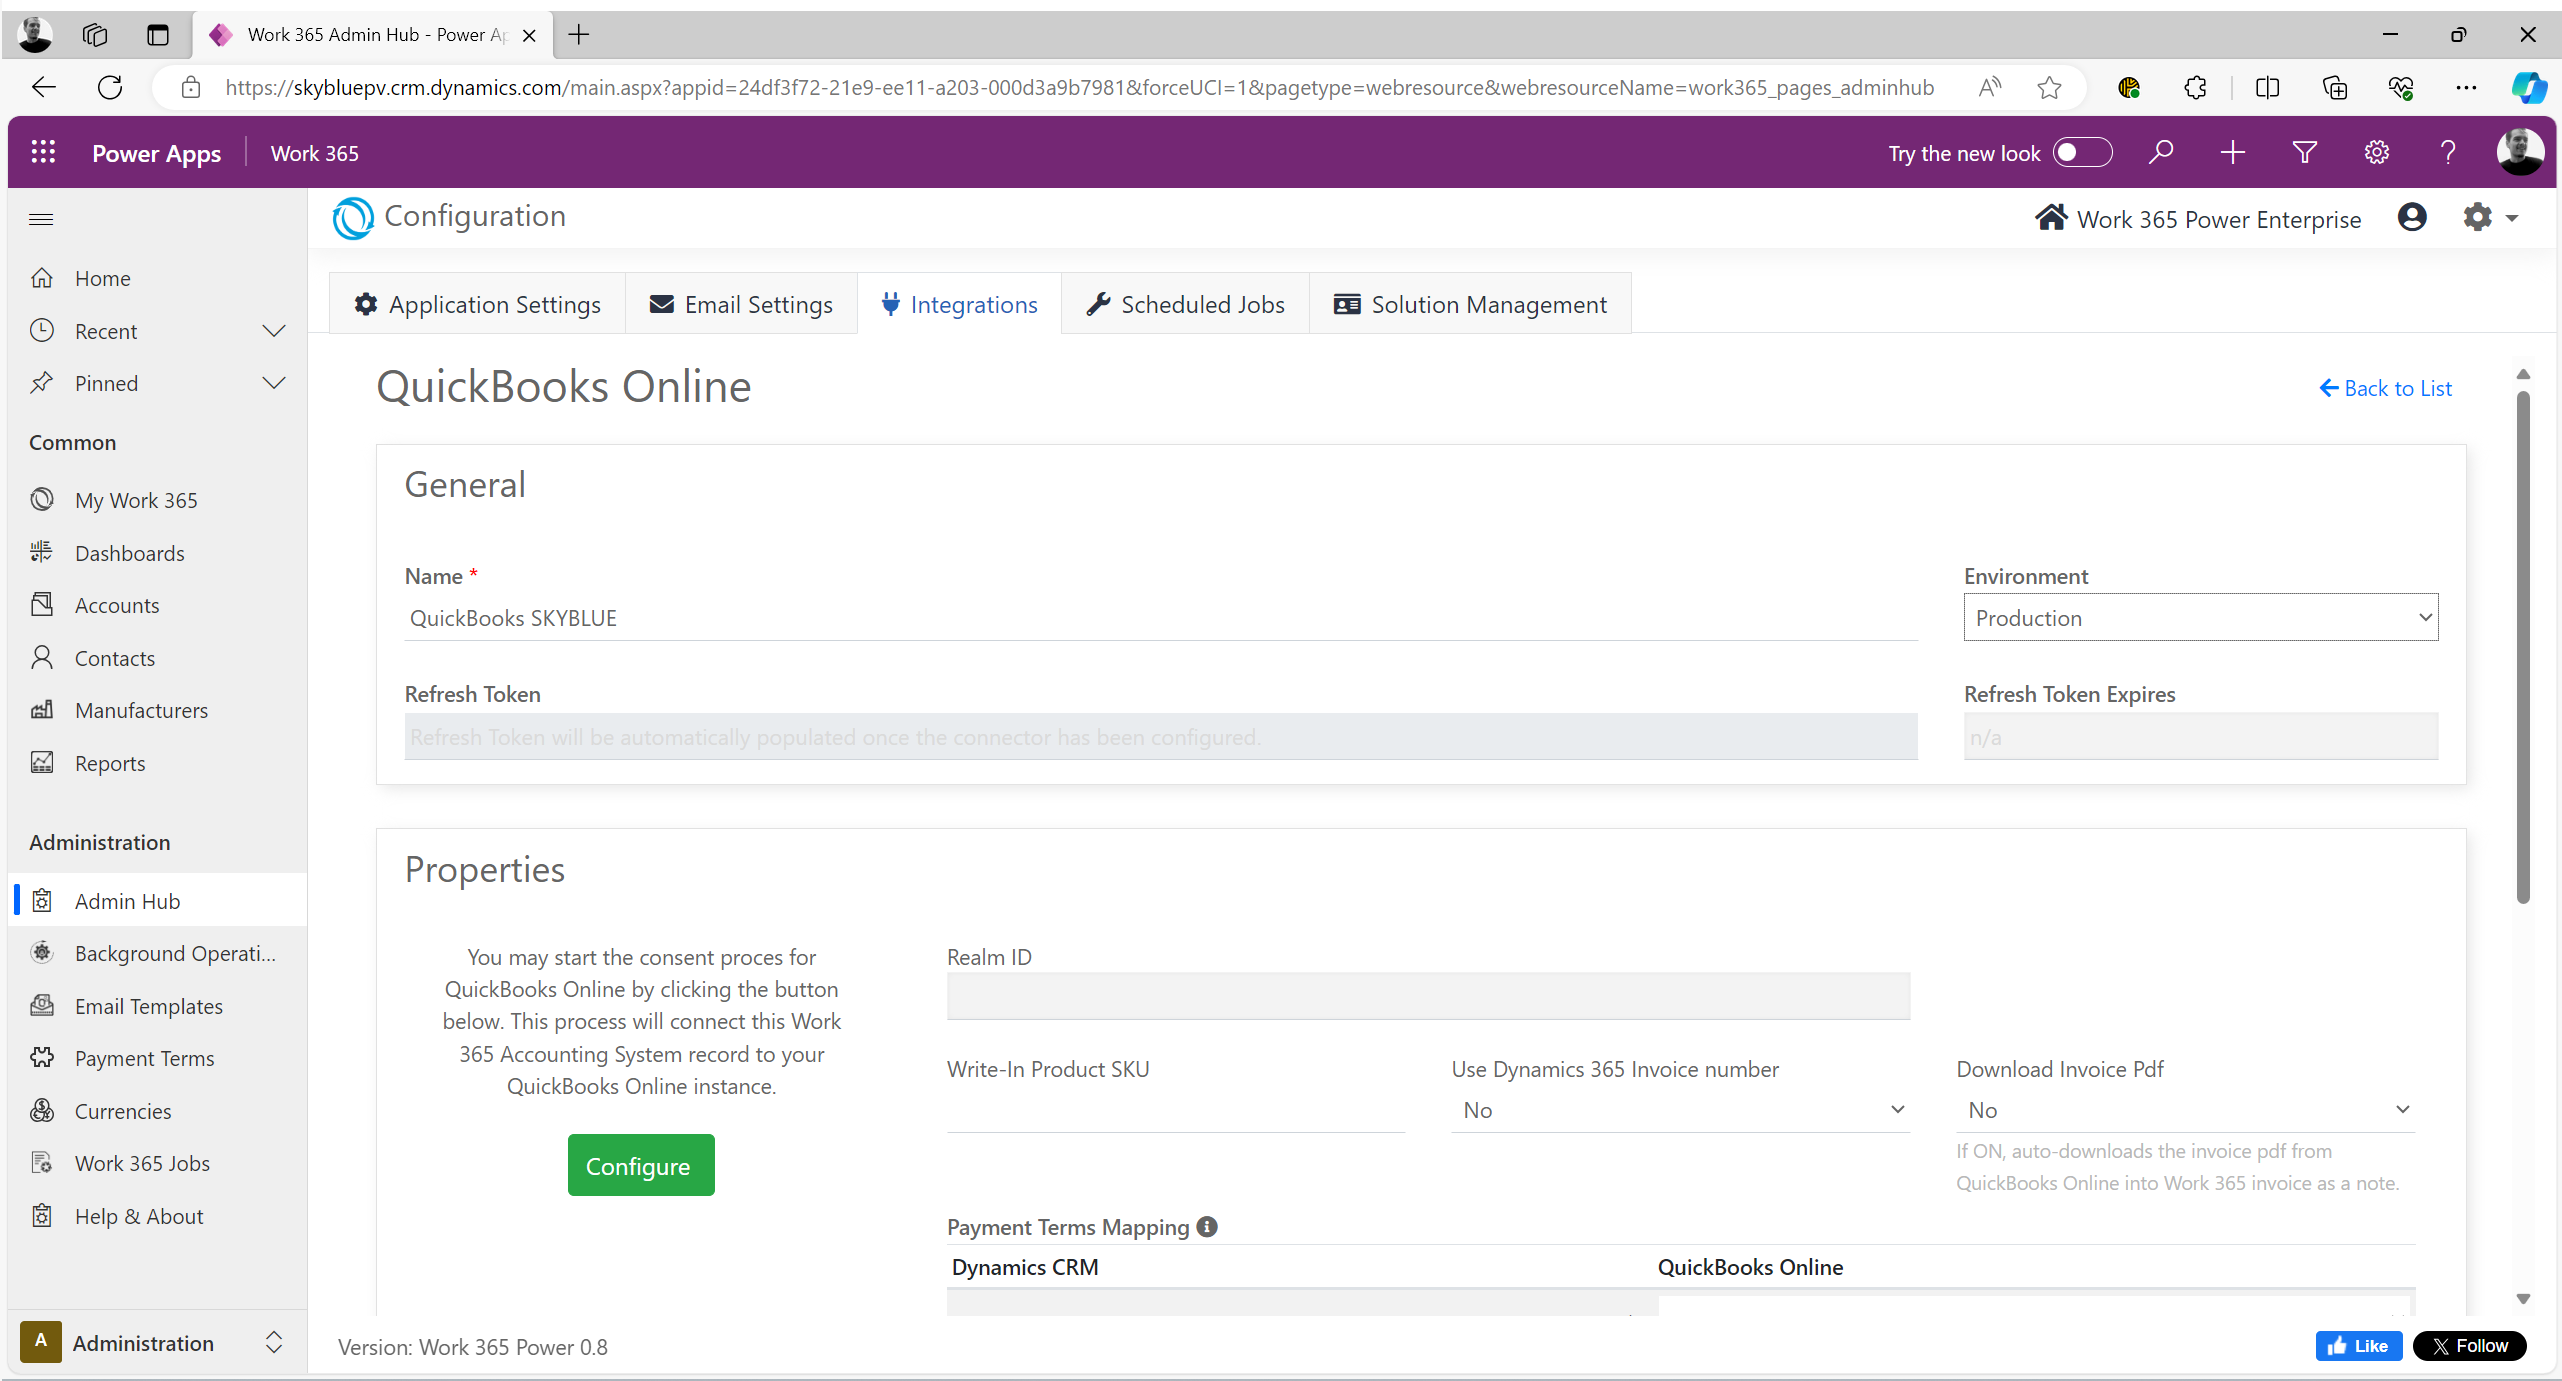
After completing the consent process, these fields will auto-populate from QuickBooks:
- Real ID
- Refresh Token
- Expires On
-
-
Click Configure to begin the consent process between Work 365 and QuickBooks Online.
This sets up the integration between the two applications.
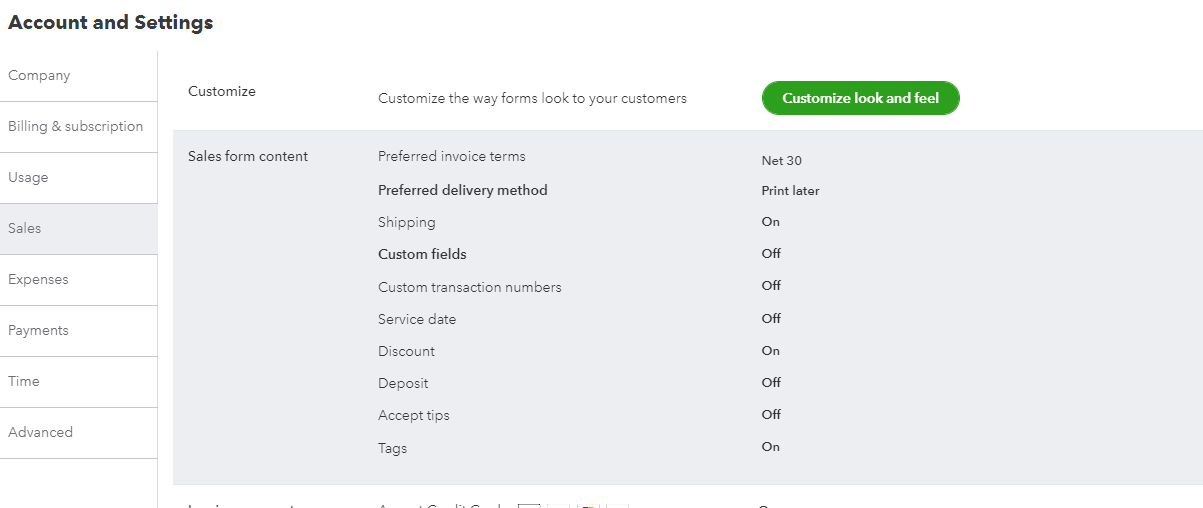
Begin the Configuration Process for the Connector:Settings in QuickBooks Online are available under the gear icon in the top-right corner. Example: Products and Services → Settings → Products and Services → Write-In Product
Write-In Product SKU:
- Used when there is no actual product on the invoice.
- Copy the Write-In Product SKU from QuickBooks into this setting.
Use Dynamics 365 Invoice Number: Whether to use QuickBooks or Dynamics 365 invoice number
| Setting | Behavior |
|---|---|
| Yes | The Work 365 Invoice number is synced into QuickBooks |
| No | The QuickBooks online Invoice number is used |
QuickBooks online settings may need to be updated to allow for Custom Transaction numbers to use the Dynamics/Work 365 Invoice numbers
Download Invoice PDF: Whether to use the PDF template for the invoice from QuickBooks or Work 365
| Setting | Behavior |
|---|---|
| No | The PDF is generated from the document invoice template in Work 365 |
| Yes | The system will download the invoice PDF from QBO and attach as a note in the timeline of the CRM invoice |
Payment Term Mapping
- Map payment terms from Work 365 to QuickBooks.
- Copy the subtext (gray text) and paste it in the field.
- For listed items, paste the equivalent QuickBooks payment terms.
- Remove unused terms or add custom terms as needed. Example:

To configure custom Payment terms, add Custom payment term and map it with the payment term in QBO
i.e Net 21=Net 21.
Add custom payment terms in Work 365 under Admin Hub
Product Class Mapping: Map product classes in Work 365 to the Product Classes in QuickBooks Online. Copy the subtext (gray text) and paste in the field. For the listed Items paste the equivalent QuickBooks product classes. Only map the values that you are using and remove the unused ones.
Product Class Hierarchies: “where [classX] is the fully qualified class name in QBO (The fully qualified name prepends the topmost parent, followed by each sub-element separated by colons. Takes the form of Parent:Subclass1: Subclass2″
Example Item 1: IPResale=All Products:Invoices: IP Resale
Default income Account: For products in Work 365 that don’t exist yet in QuickBooks, the product in Work 365 needs to map to a default income account in QuickBooks.
For Account Hierarchies: “(The fully qualified name prepends the topmost parent, followed by each sub-element separated by colons. Takes the form of Parent:Subaccount1: Subaccount2)
Quickbooks configuration is complete. Be sure to Save the Connector settings
QBO do not support products with similar Product Names . The Impact of the NCE SKU's will have the same name as legacy SKU's.Recommendation It is advised to update the catalog in the accounting system. So that the legacy and NCE SKU's are unique with the product service. The product configuration setting for the product ID should be set to alternate ID .
Updated 11 months ago