GDAP Request
A GDAP request encapsulates the directory roles requested and the security groups to which they need to be assigned.
Creating a GDAP Request
GDAP Requests can created directly or via a GDAP template. The latter approach provides a convenient way to create GDAP requests using a predefined set of parameters and is the generally recommended approach.
Creating from a Template
- Navigate to the
Provider Managementarea and click onGDAP Request. Then click the+ New From Templatebutton on the ribbon.

- Search the template using the search box and select the required template. Then click the
Addbutton.

- Fill in the required fields
| Field | Description |
|---|---|
| GDAP Template | This is pre-populated with the template selected in the previous step. |
| Name | Provide a friendly name for the GDAP request. |
| Customer | Select the customer for which this GDAP request is being created. |
| Tenant | Select the tenant for which this GDAP request is being created. This dropdown will present a list of tenants filtered by the selected Customer. |
| Auto-Renew | This is pre-populated based on the template. |
| Duration (Days) | This is pre-populated based on the template. |
- The role mapping control is also preset with the configuration specified on the selected GDAP template. The remaining fields (Start Date, Expiry Date, Microsoft ID and Acceptance Link) should appear blank and locked. These will get automatically populated as the GDAP request progresses.
- Click
Save.
GDAP Requests are created by default in the
Draftstate. At the point, the request is local only and not submitted to Microsoft or to the end customer for approval. All changes are allowed.
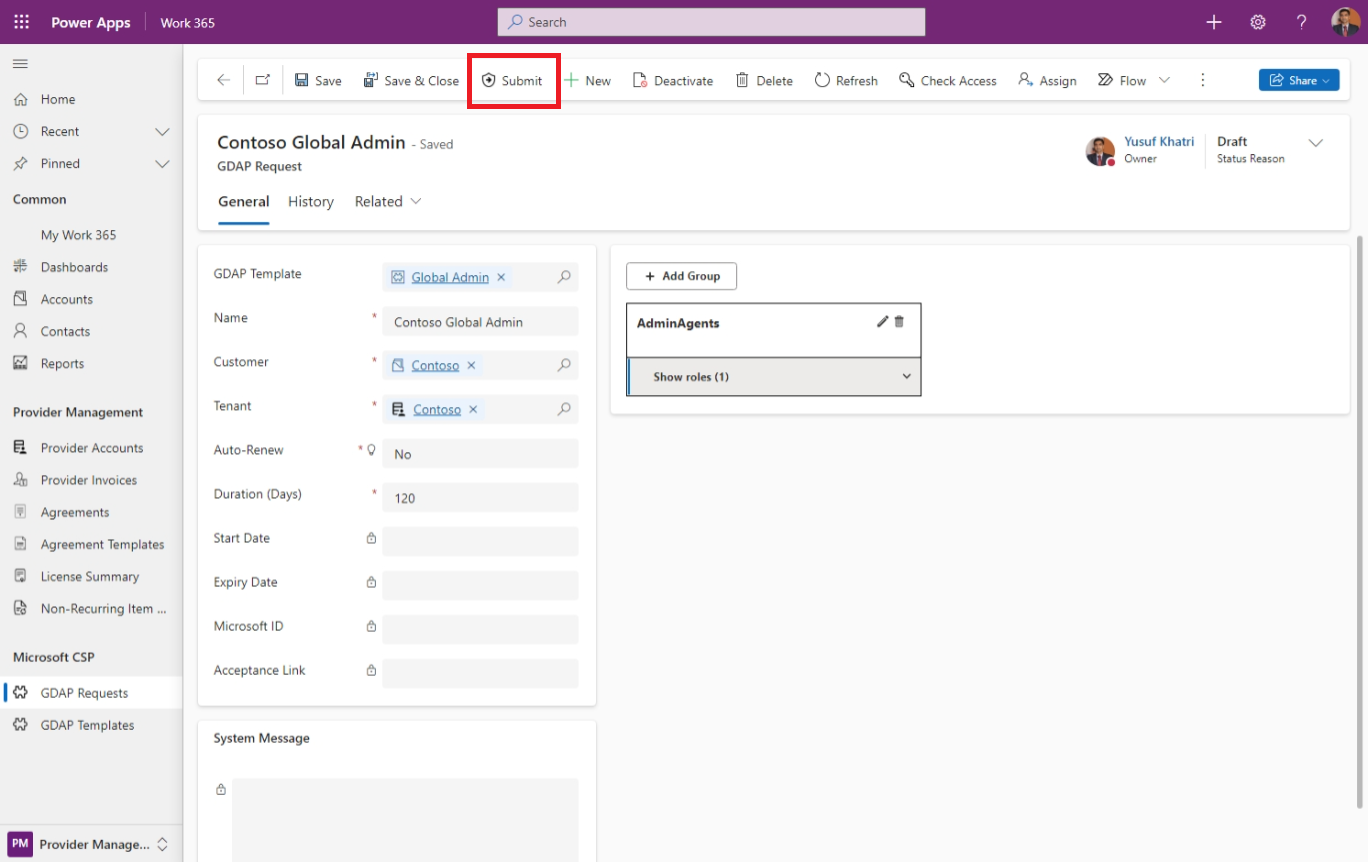
- Once the GDAP request is successfully created, it must be
Submittedto continue the GDAP workflow. This can be done in bulk from the GDAP list OR by opening a single GDAP record form. In both cases, click theSubmitbutton to create the GDAP request in Partner Center.
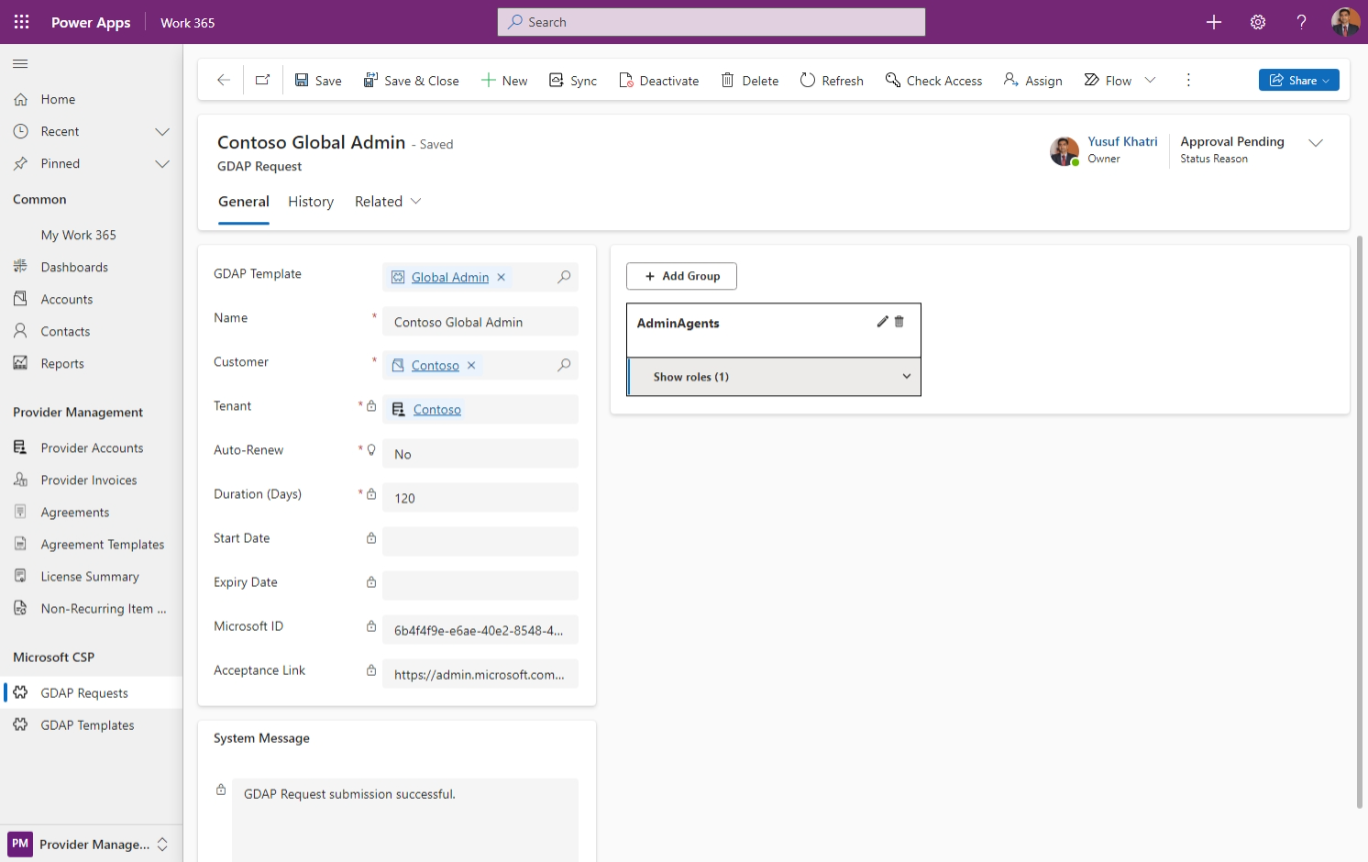
- Once the GDAP request is successfully submitted, status of the request changes to
Approval Pending. The following fields are also populated.
| Field | Description |
|---|---|
| Microsoft ID | The unique identifier from Microsoft for this GDAP request. |
| Acceptance Link | The acceptance link that customers must click to see and complete the acceptance workflow for this GDAP request. |
Once a GDAP request is submitted, the Directory Roles are locked. While the security groups can be added / removed and assignments for the already specified roles can be altered; new Directory Roles cannot be added. For additional roles, new GDAP requests must be created.
Work 365 does not automatically email customers, the acceptance link, upon GDAP request submission. It is recommended that partners create Power Automate flows, triggered on the status change of the GDAP request to `Approval Pending' to trigger emails.
Creating without a template
- The process to create an independent GDAP request is very similar to creating one from a Template. On the GDAP request list, click the arrow next to the
+ New From Templatebutton and select the+ Newoption.
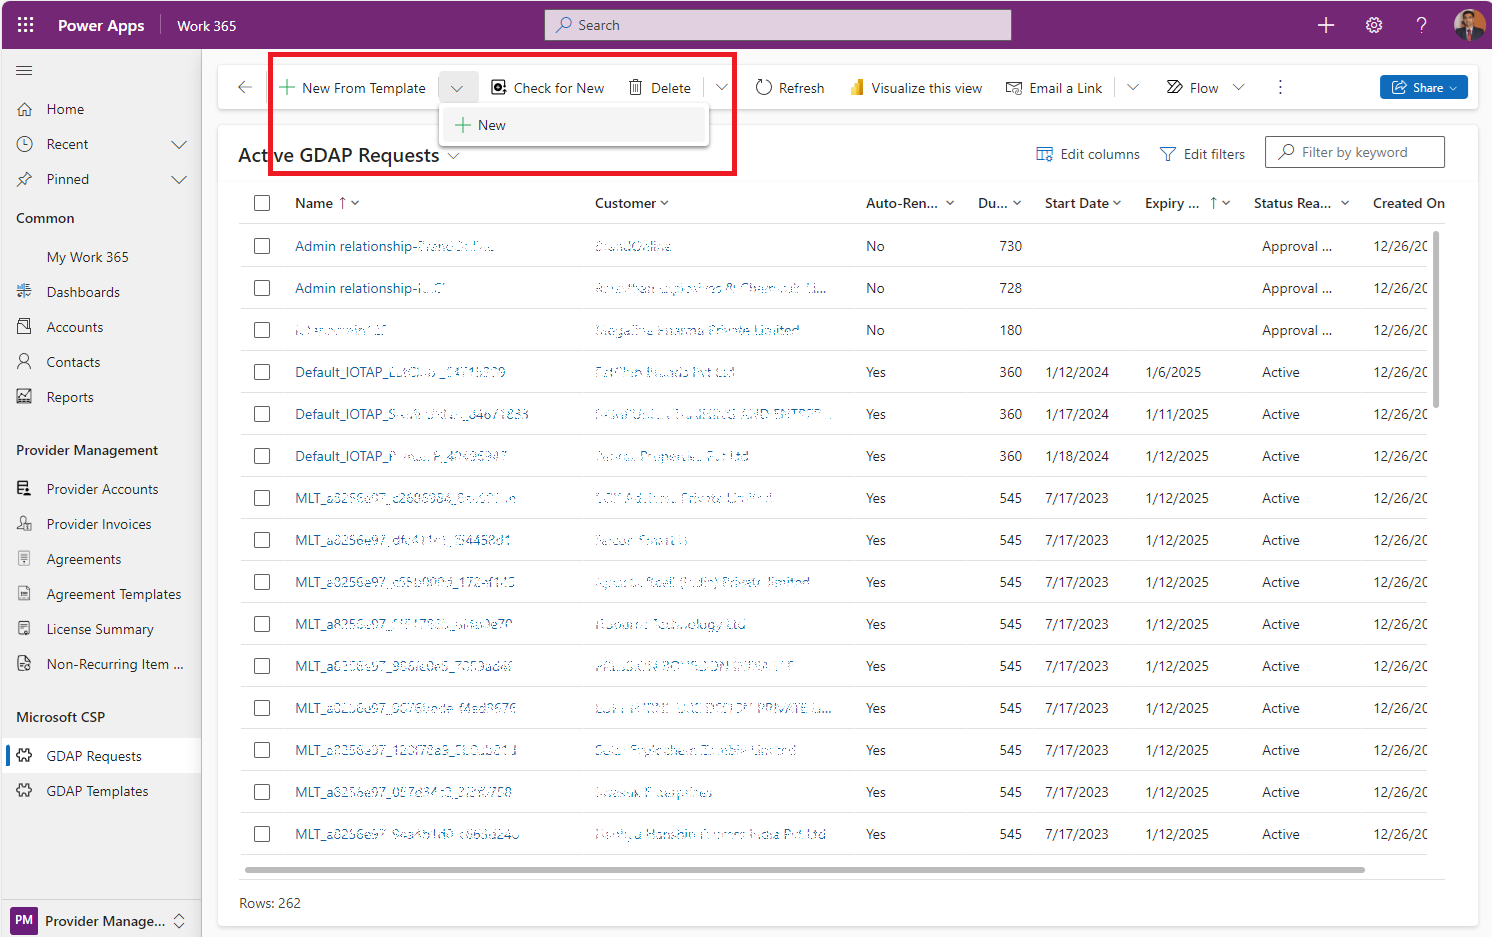
- This opens the same form as the previous step, but without a pre-selected GDAP template or pre-populated fields. Follow steps #3 from the previous section to complete creation of a GDAP request.
Updated 11 months ago
Did this page help you?