Setting up a new Power App instance
Pre-requisite
- The user performing these actions will need to have a Power Apps Premium SKU - CFQ7TTC0LH2H:0002 license assigned This license can be reassigned later. If this license does not exist in the tenant, it must be purchased.
- (US based tenants only), Click this link to add IOTAP as your reseller and we can provide the necessary licenses. https://admin.microsoft.com/Adminportal/Home?invType=ResellerRelationship&partnerId=292fe4f0-75b0-49d7-9e11-b528b3a52a1e&msppId=0#/partners/invitation
- Alternatively, this can be purchased via https://www.microsoft.com/en-us/power-platform/products/power-apps/pricing
- Global Administrator’ rights on the Microsoft Entra ID tenant, where the Power Platform environment will be hosted.
Procedure
- Login to https://admin.powerplatform.com using Global Administrator credentials. Click the Environments option in the left-hand side menu.
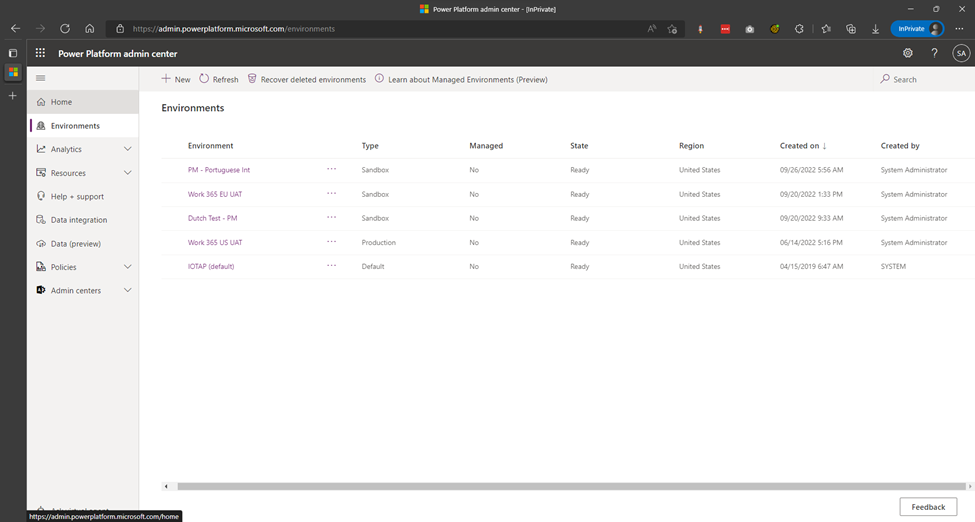
- If you are new to Power Apps, you should see a single environment listed with Type = “Default”.
- Note: you may be able to leverage an existing environment (if available) for Work 365 if that environment has sufficient Power Apps Licensing.
- Click the “+ New” button in the ribbon. The “New environment” pane opens. Fill in the details as relevant to your organization and click the “Next” button.
| Field | Value |
|---|---|
| Name | Name of your organization |
| Make this a Managed Environment | No |
| Group | None |
| Region | Choose the region that is closest to your office |
| Get New Features Early | No |
| Type | Production or Sandbox (if creating a test/development environment) |
| Add a Dataverse Store | Yes important! |
| Pay-As-You-Go with Azure | No |
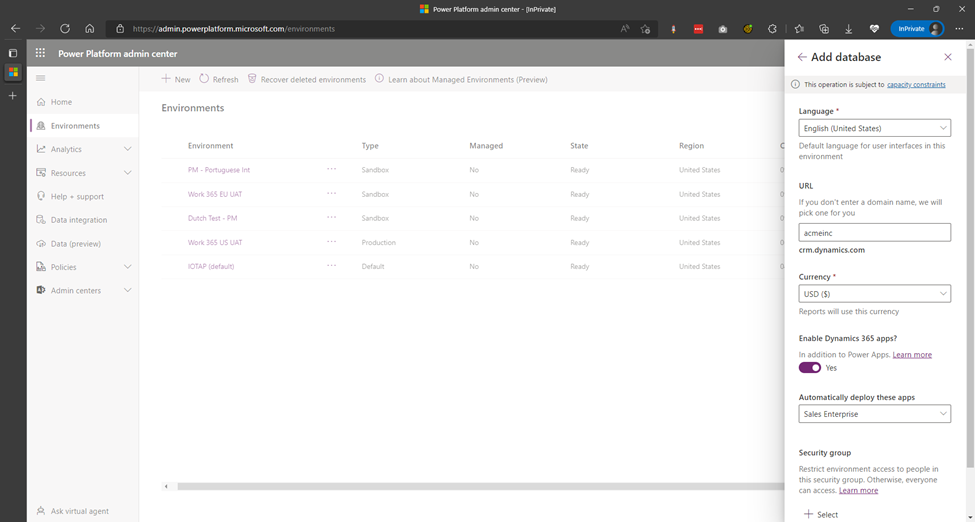
- On the next screen, in the relevant details. Ensure that specify a custom URL for your organization.
| Field | Value |
|---|---|
| Language | Choose the base language. You will be able to add other languages later, if required. However, the base language once set, cannot be changed. |
| Currency | Choose the base currency. You will be able to add other currencies later, if required. However, the base currency once set cannot be changed. |
| Security Group | None |
| URL | Specify an easy to remember moniker for your URL. Use your company name in the URL DO NOT use Work365 in the name or leave it with the default URL. This will form the first part of your URL. It is recommended that you use a short name or derivative of your company name for this field. important! |
| Enable Dynamics 365 Apps | No |
| Deploy Sample Apps and Data | No |

- Click the “Save” button. The new environment should now show up in the list of environments with “State” as “Preparing Instance”. Wait for the state to change to “Ready” – you may need to click the Refresh button a few times. This process usually takes a minute or two.