Email Settings
Work 365 application sends out emails on your behalf to both internal users and your customers. To ensure email delivery the appropriate DNS records must be configured. This document outlines two sets of records (DKIM and SPF); both set of records should be created.
Create DKIM records
- Navigate to Admin Hub → Email Settings:
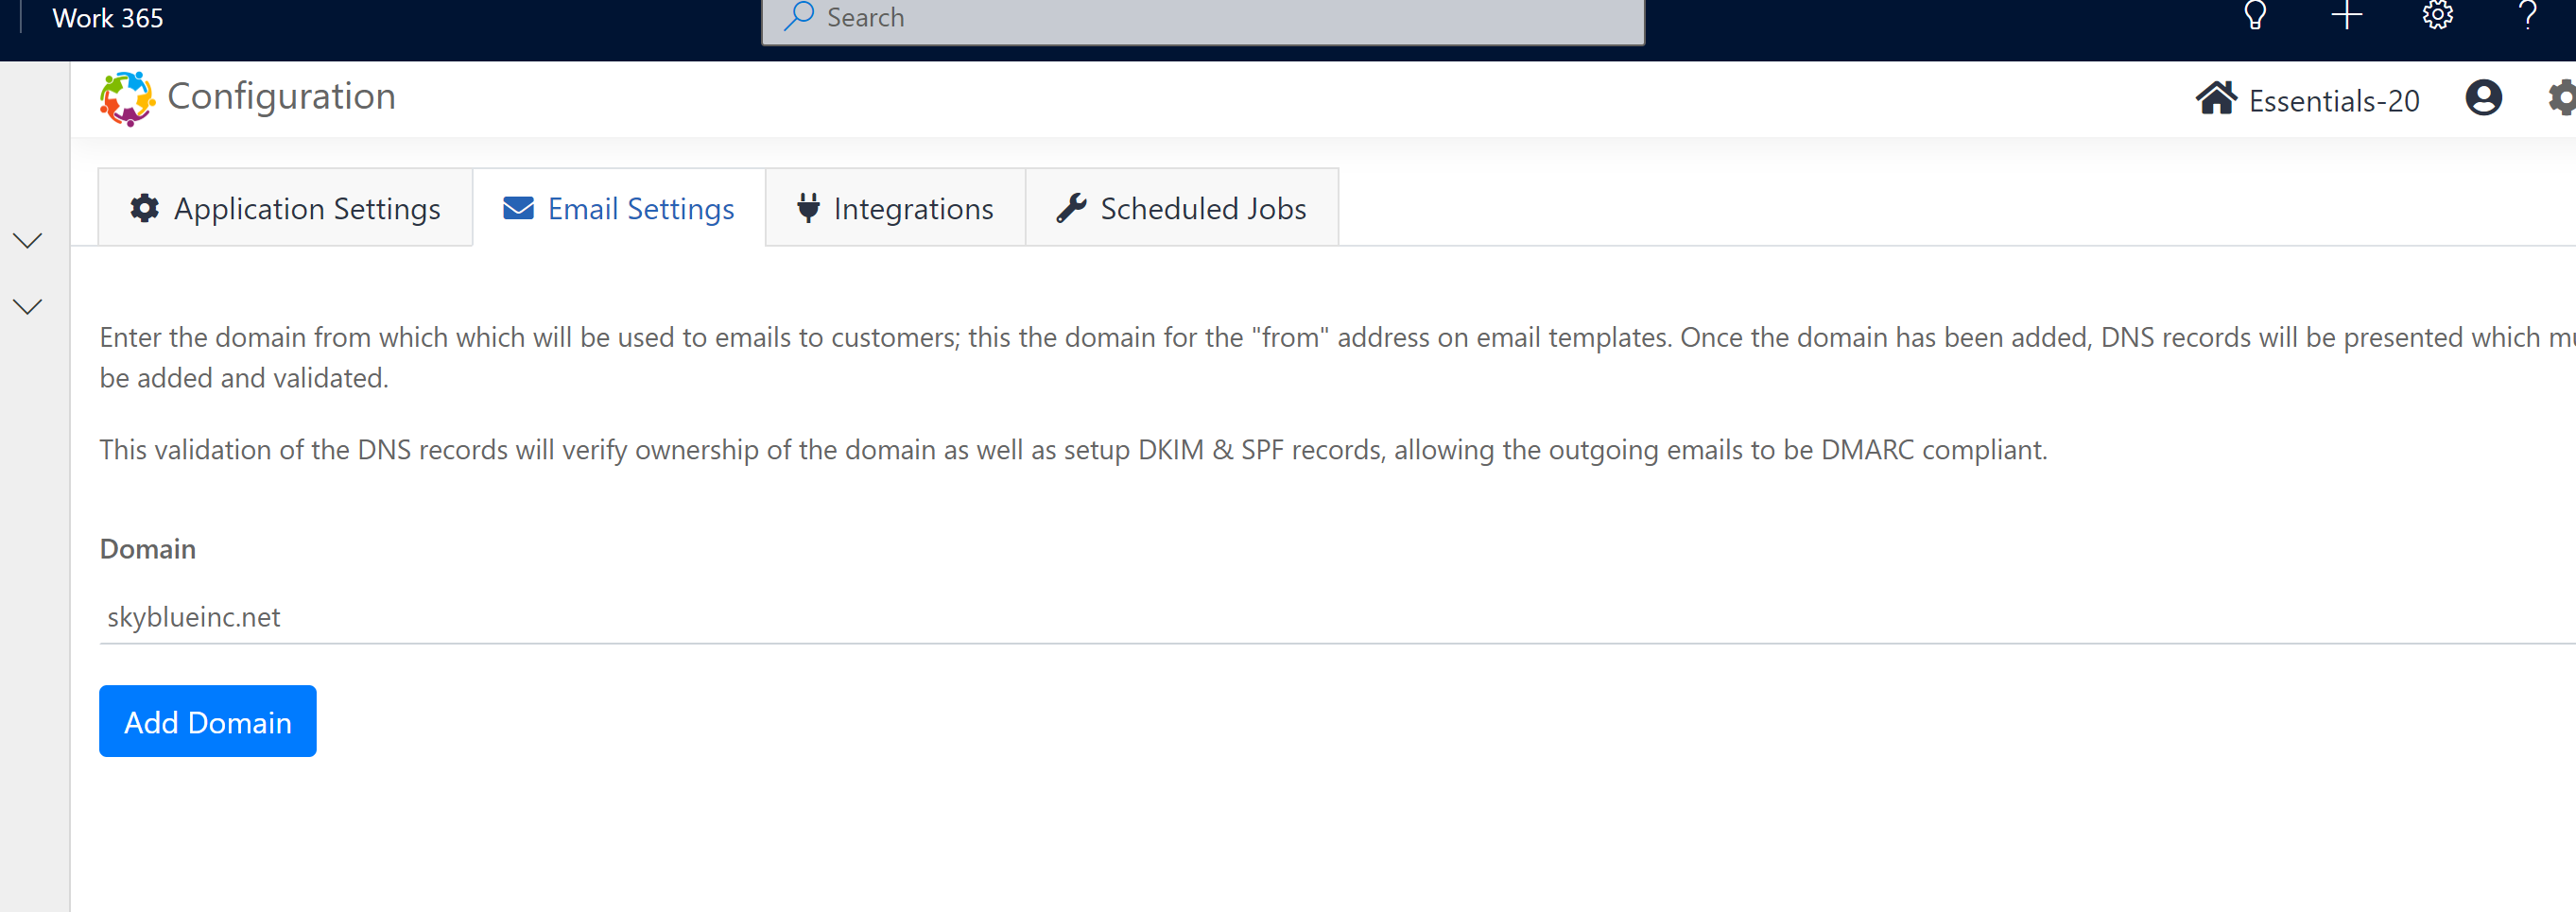
- Enter your email domain and click the
Add Domainbutton. - The screen should now display a list of records that must be created in your DNS.
- Create the records and click the
Validate DNSbutton. While this normally take effect within a few minutes, it could take up to 72 hours for the DNS changes to come into effect.
Creating SPF records
- An SPF record is a TXT record added to your domain with the following format
_v=spf1 include:[permitted-sender-1] include:[permitted-sender-2] … include:[permitted-sender-3] ~all_- If your domain does not have an SPF record, create a new TXT record with the following value and a TTL of 3600 seconds.
_v=spf1 ip4:149.72.41.211 ~all_- If your domain already has an SPF record, you must modify that existing record by adding
_ip4:149.72.41.211 before the ~all_- For example, if your domain already has an SPF record as follows
_v=spf1 include:spf.protection.outlook.com include:servers.mcsv.net ~all_- The resulting record should look like
_v=spf1 include:spf.protection.outlook.com include:servers.mcsv.net ip4:149.72.41.211 ~all_